|
|
Tips and Tricks
|
|
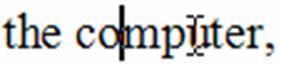
![]() The pointer becomes an I beam (capital letter I) when you are on a place on the screen that lets you type text. When you click, a blinking vertical line called a cursor (or insertion point) appears. This will be where what you type will display.
The pointer becomes an I beam (capital letter I) when you are on a place on the screen that lets you type text. When you click, a blinking vertical line called a cursor (or insertion point) appears. This will be where what you type will display.
Tip: After you click, move the mouse so you can see exactly where the cursor is.
Hourglass:
 Your cursor symbol will turn into an hourglass when your computer is performing an activity. The hourglass indicates that your computer is working on a task; you should wait until the task is finished before attempting to do something else. When your computer has completed the task, the hourglass will return to its previous symbol (usually a pointer).
Scrolling:
|
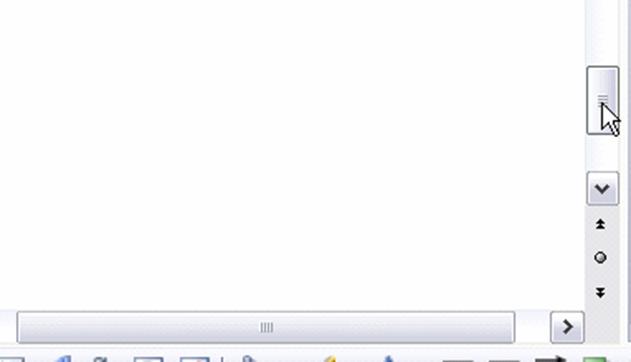
In many programs you will see a bar with a slide (smaller gray bar inside the lighter gray bar) running vertically on the right side or horizontally on the bottom of the window in which you are working. This means that there is more information to see in the window. You can use the slide bar to scroll up and down or side to side to see additional information.
Here are four ways to use the scroll bar. Click and drag the slide for continuous movement. Click in the light gray area to move one page at a time. Click on an arrow at the top or bottom of the bar to move one line up or down at a time. Click and hold on the arrow to move the screen continuously. (This is helpful, if you have trouble dragging the slide straight).
Moving and Copying by Dragging
To move a piece of text or a graphic, select it. Click (in the part that is selected) and drag it somewhere else. This symbol  will show. When you release the mouse, the piece will move.
To Copy something, select it. Hold down the Ctrl key, click and drag the selection somewhere else. This symbol  will show.
Symbols used in Graphics and Pictures
|
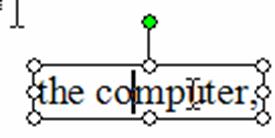
Clicking on a garphic selects it. Handles that look like little hollow squares or circles appear at the corners of the graphic. A green circle, if present, indicates the graphic can be rotated by clicking on the green and dragging to tilt the graphic. A four-headed arrow black cross shows inside the graphic. To move the graphic, click and drag it.
|
In most programs a two-headed black arrow indicates where to click and drag to make a graphic bigger or smaller. Carefully point at the corner of a graphic until the two-headed arrow appears. Then drag. Using a corner will keep the graphic in perspective by resizing two sides at once (top and side). Dragging on a side will distort the picture. Tip: In Microsoft programs holding Ctrl while you drag a corner will move all four sides.
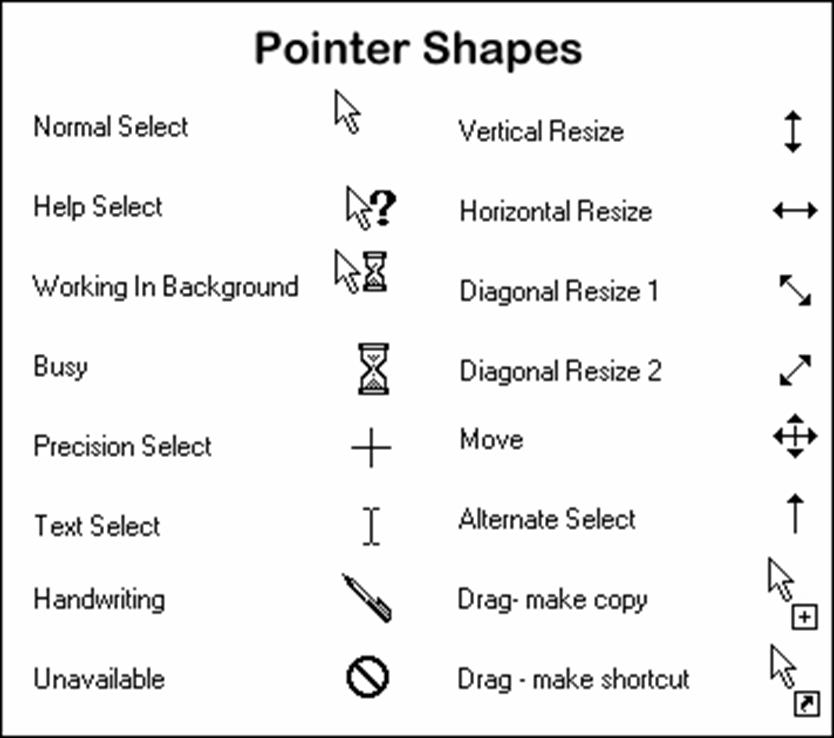
Here is a quick reference list of many of the shapes you are likely to encounter.
Resizing Columns

Any time you see a table with headings on it, try this. Point to the border (the line between two columns. If there is a header row at the top point in that row). A two-headed black arrow will show. Double-click. The column automatically resizes to the largest entry in the column. You can also drag the column to a new size. This works in file dialog boxes in details view, in email lists, in Word tables, in Excel sheets.
Using Find and Replace
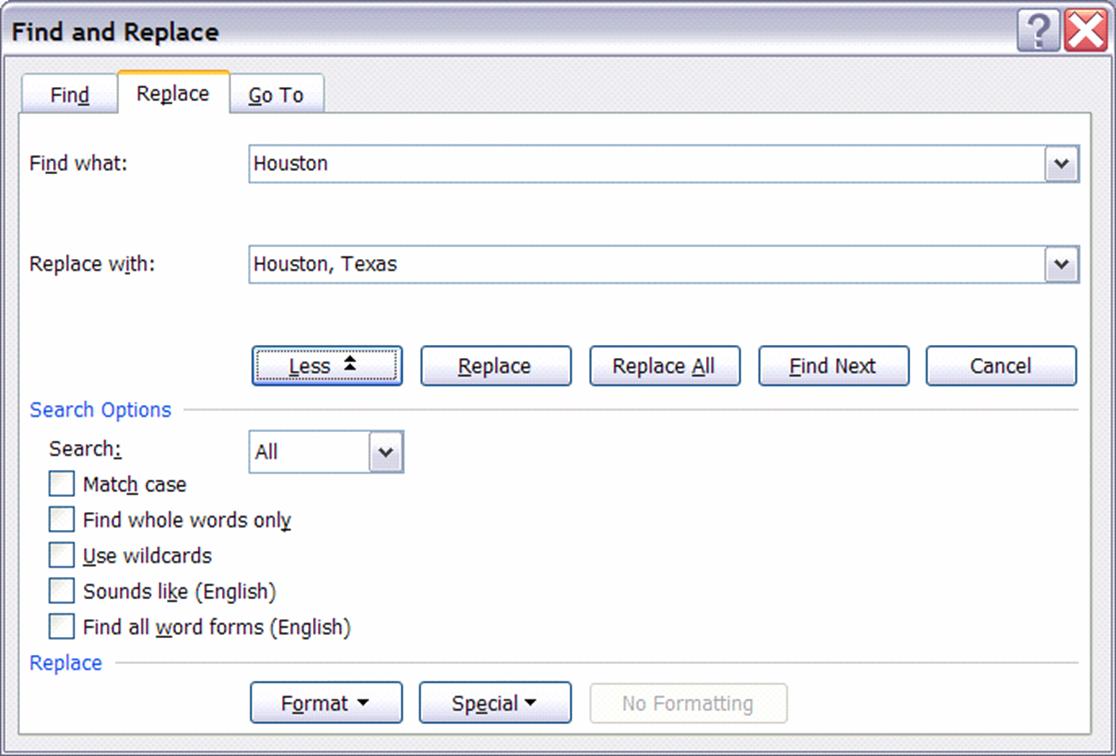
The Find command and the Replace command in the edit menu can do some pretty neat things. The find command just locates text of formatting in a document, whereas replace lets you automatically replace it with something else. Let’s say you want to replace Houston with Houston, Texas in a long document. The Replace command is what you use. Click Edit, Replace. In Find what, type Houston. In Replace with, type Houston, Texas. For more options click the “More” button which will expand the box and rename itself “Less”. We’ll discuss some of the options later. I like to test the result first. Click “Replace” or “Find Next” or just press tab. The first instance is selected in the document. Click “Replace”. If you don’t want to replace click Find Next. The next match is selected. If the search is behaving the way you want, click “Replace All”. The number of replacements will be displayed. Press Esc to close the box.
|
The search is very specific requiring thinking it through to use it successfully. In the example I used, a couple of “uh, ohs” happened. Because Houston, Texas exists in some places, the Houston will be found and if replaced would result in “Houston, Texas, Texas”. To prevent this, put a space after Houston in the Find what box. But that will result in missing any instance of “Houston. (period)”. So after the search for “Houston (space)” do one for “Houston.” (To put a space in just press the spacebar).
All kinds of formatting can be searched and replaced. Say you want to replace Houston with a bold Houston. In the replace with box, type Houston then click the Format button at the bottom of the box. (If you don’t see Format, click More to expand the box) Click Font, Bold, OK. (Or select the text and press Ctrl+B). Under the replace with box “Format: Font Bold displays”. Very important: After you do the replacements, open the Replace box and remove the format by clicking in the Replace with, then click the No Formatting button. Click Find Next, and close the box (or Press Esc). If you don’t do this, the formatting stays there until you do, which can mess up your next replace. Experiment with other formatting that can be searched.
Especially helpful is that special non-printing characters can be searched and replaced. This is handy to get rid of extra paragraphs. Let’s say you changed a document to double spacing and you want to remove the extra paragraph mark between paragraphs. Open the Replace, in the Find what, click the Special button and click “Paragraph mark” a ^p shows. Do it again or just type ^p. Then in the Replace with put just one ^p and click Find Next.
If you click the “?” symbol in the right corner of the title bar of the box, Help will open with more details for you to try. One last idea, if you have a cumbersome name that has to be typed many times in a document, give it an abbreviation then use replace to put the name in full when you are done. Stay tuned for more tips and time savers. Let me know what you want to know about.
Happy Computing.
Mel Babb, a long time member of HAL-PC, is currently an instructor and on the Volunteer Help committee at HAL-PC. She runs her own company, PC Tutoring Services (www.melpchelp.com). She comes to your office or home and creates notes for you on what you want to learn. Contact her at 713-981-5641 or email at mel@melpchelp.com © 2006

2008
November/December
2007
November/December
October
September
May
March
January
2006
Nov/Dec
October
July
June
May
April
March
February
Mel Babb, a long time member of Hal-PC, is currently an instructor and on the volunteer help committee at Hal-PC. She runs her own company, PC Tutoring Services. She comes to your home and creates notes for you on what you want to learn. She can be reached at melbabb@earthlink.net

 The pointer is a symbol that you see on the computer screen when you use the keyboard or mouse. It sometimes resembles a hand, a bar, or other symbol. It indicates where you are on the screen. Sometimes in half a second a yellow tool tip will pop up describing what you are pointing at. When you click or double click at what you point at, something happens. What happens depends on the program you are using.