|
|||||||
|
|||||||
|
User Support -> Setting up Email
Setting Up Outlook 2002/Office XPOpen Outlook 2002 and if this is the first time a "Startup Wizard" should begin. See Figure 1. If an account has already been set up, see "Resetting Outlook 2002/Office XP's Email Account" to "reset" your Outlook. 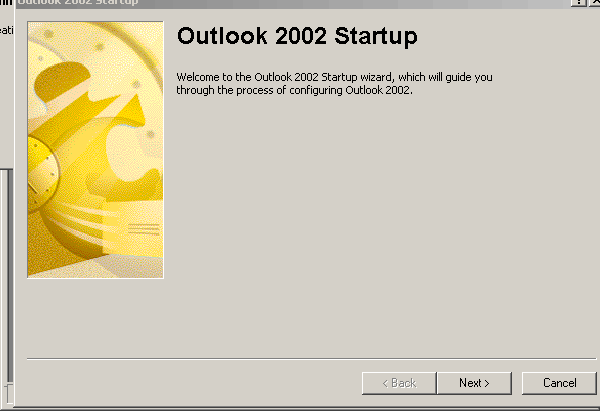 Figure 1 Depending on your previously installed Email program (if any), a screen may come up for "upgrade options." In this case, Outlook 6 from XP was already installed and the option to upgrade was provided. If you wish to upgrade, click (put a dot next to) "Upgrade from." If you do not with to upgrade from your current Email program, click "Do Not Upgrade." See Figure 2. 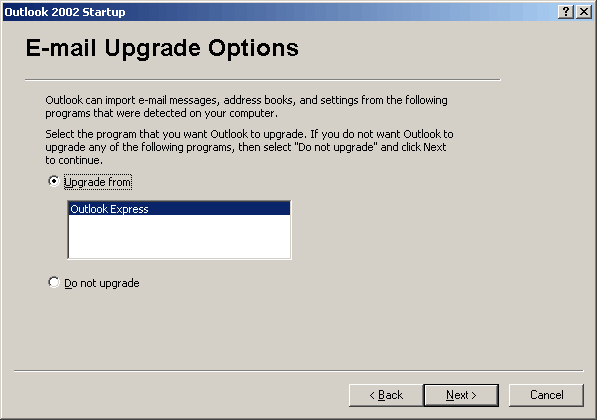 Figure 2 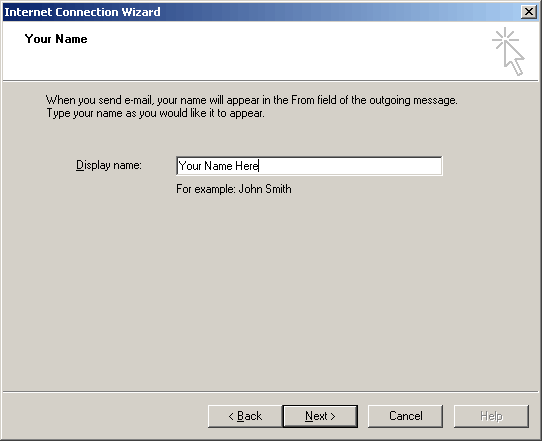 Figure 3 Once done, click NEXT.
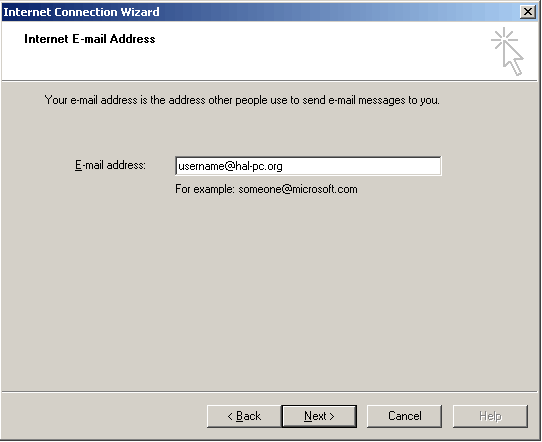 Figure 4 Once done, click NEXT.
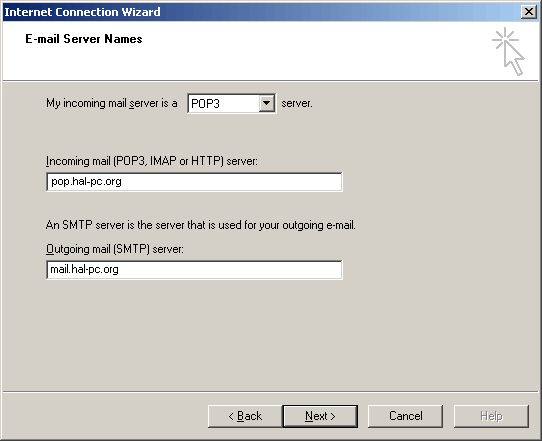 Figure 5 Once done, click NEXT. 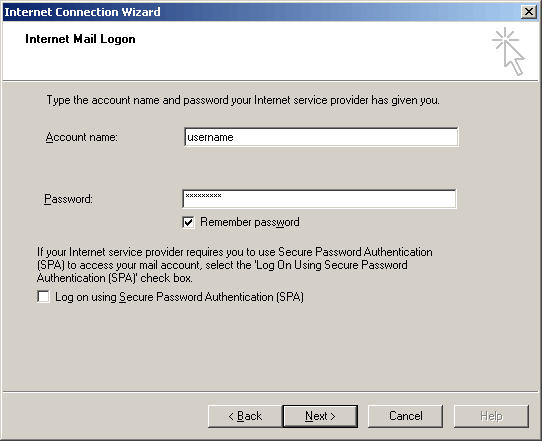 Figure 6 The Account Name is your username (your username your HALNet email address). In Password, put in your HALNet password. Click NEXT.
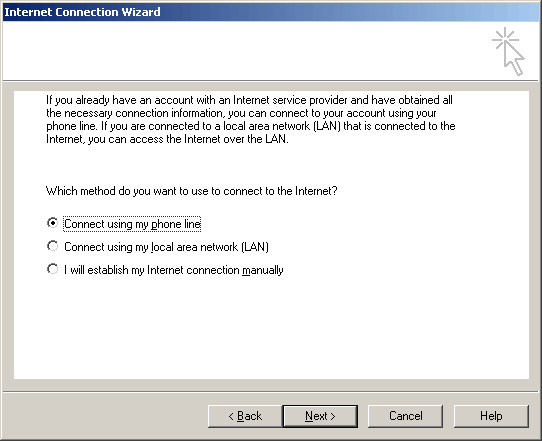 Figure 7 If you have a dial-up connection (modem) click "Connect using my phone line". If you have ADSL, click "Connect using my local area network (LAN)". See Figure 7.
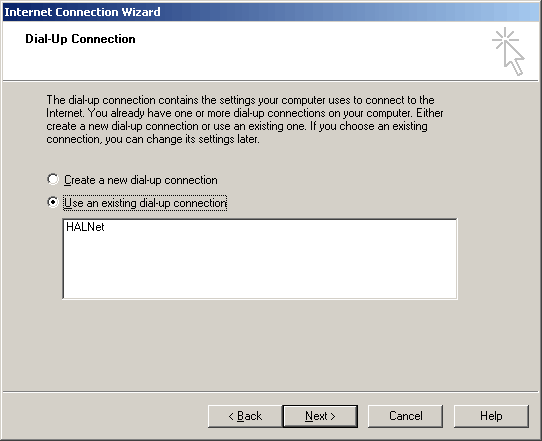 Figure 8 If you have more than one Internet Provider, make sure that HALNet (or whatever your HALNet connection is called) is highlighted (i.e. blue) by clicking on it. See Figure 8. Click NEXT.
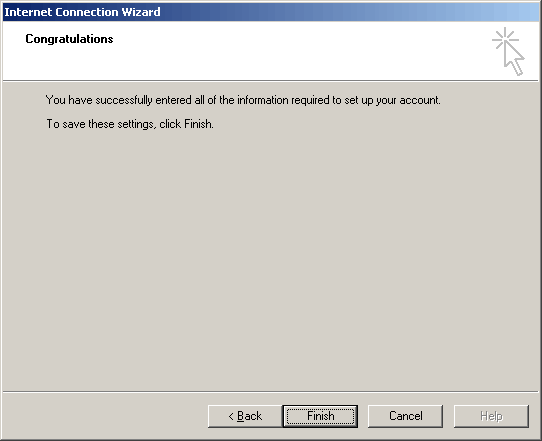 Figure 9 Click FINISH. Once your account is set up, you need to "Enable Authentication."  Figure 10 Enable Authentication
|
||